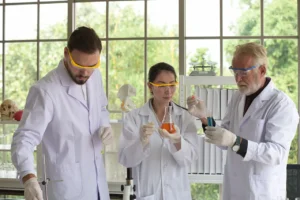
In a scientific laboratory, accuracy is the key to reliable results. However, many may overlook one of the most fundamental factors directly affecting that accuracy: the cleanliness of glassware. Even small residues of dirt or chemicals can cause unwanted reactions, alter pH values, or inhibit microbial growth, which may lead to misinterpretation of experimental results and wasted time.
Cleaning glassware is therefore not just about making it "look clean," but a scientific process that requires attention to every step. This article is a complete guide that will introduce techniques and procedures for cleaning glassware to be crystal clear and free from contamination, so you can be confident in every experiment.
Why is the cleanliness of glassware critically important?
Imagine you're preparing a buffer solution, but there are still small residues of acid or base in the beaker. The result is that the pH of your prepared buffer will deviate from what it should be. Or, in cell biology, residual dish soap might be toxic to the cells you are culturing. Therefore, investing time in correctly cleaning glassware is an investment in the accuracy of your data and your research results.
5 Steps to Spotlessly Clean Glassware
For the best results, you should strictly follow these steps:
1. Preliminary Rinse As soon as you're done using the glassware, immediately empty the solution and rinse it with tap water to remove most of the residue before it dries and hardens on the container. If there are solid residues, gently scrub them off with an appropriate glassware brush. Doing this step will significantly simplify the subsequent cleaning process.
2. Washing with Detergent You should choose a laboratory-grade detergent specifically made for glassware, as general dish soap often contains fragrances and other ingredients that can leave a film on the glass surface. Use a brush to thoroughly scrub every nook and cranny of the glassware, both inside and out.
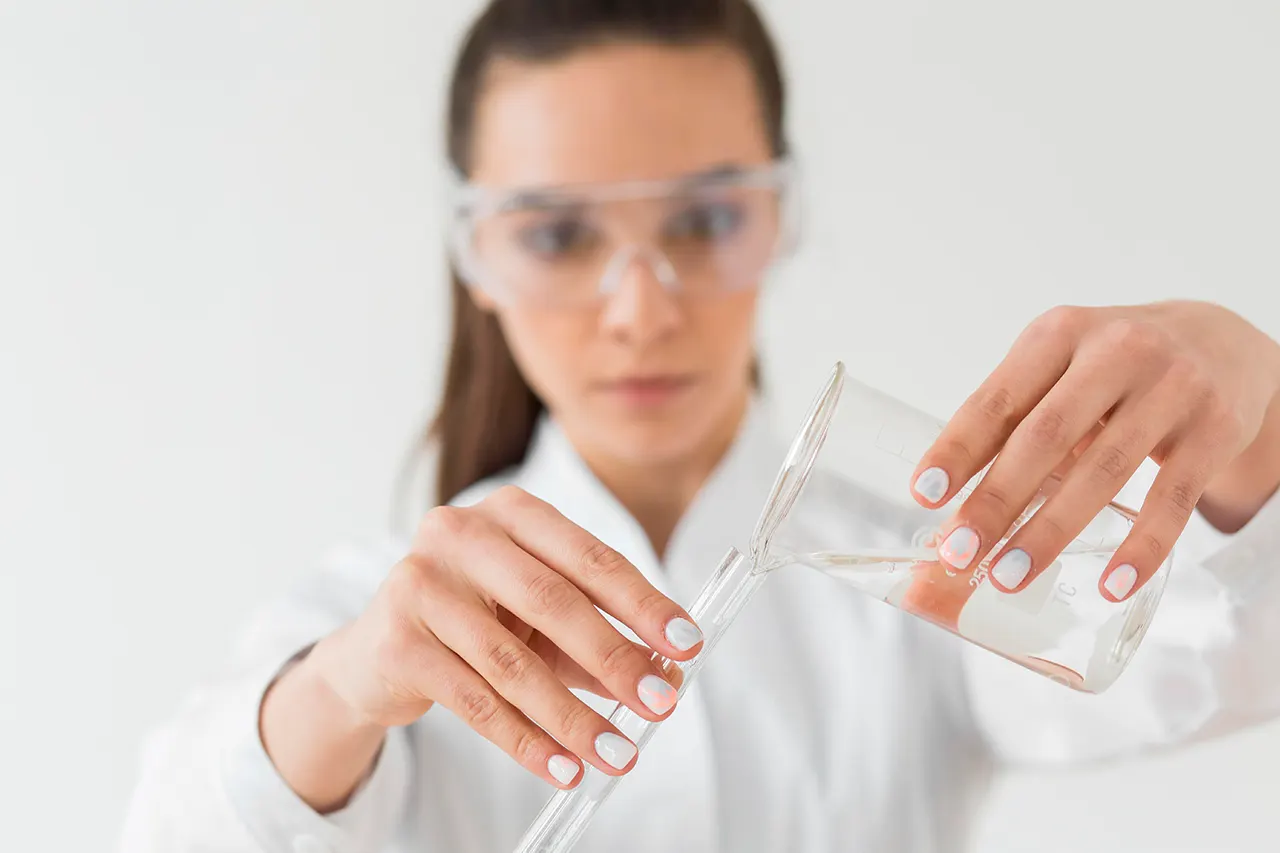
3. Rinsing with Tap Water After scrubbing with detergent, rinse thoroughly with running tap water to remove all suds and cleaning solution. Rinse repeatedly (at least 3-5 times) until you're certain no slippery residue from the detergent remains on the glass surface.
4. Final Rinse with Distilled/DI Water This is the most crucial "secret" step to prevent water spots after drying. Tap water contains dissolved minerals and various ions, which, upon evaporation, will leave white stains on the glass surface. Rinsing 2-3 final times with distilled water or deionized water (DI water) will wash away these minerals, leaving your glassware crystal clear and free of any stains.
5. Drying The best method is to invert the glassware on a drying rack specifically designed for glassware and allow it to air dry in a dust-free area. If urgent use is necessary, it can be placed in an oven at a moderate temperature. A caution is Do not never use cloth or paper to wipe the inside of glassware, as they can leave tiny fibers that will become contaminants in your next experiment.
Summary
Properly cleaning glassware is always an investment in the accuracy of your experiments, an investment you'll always get back. Paying attention to these small details can make a huge difference in scientific results. And the best start is choosing high-quality glassware that's durable and easy to clean. At MIT Trade we offer a wide variety of glassware and plasticware for laboratories, along with expert consultation to help you select the right equipment for your specific needs.