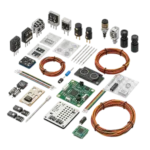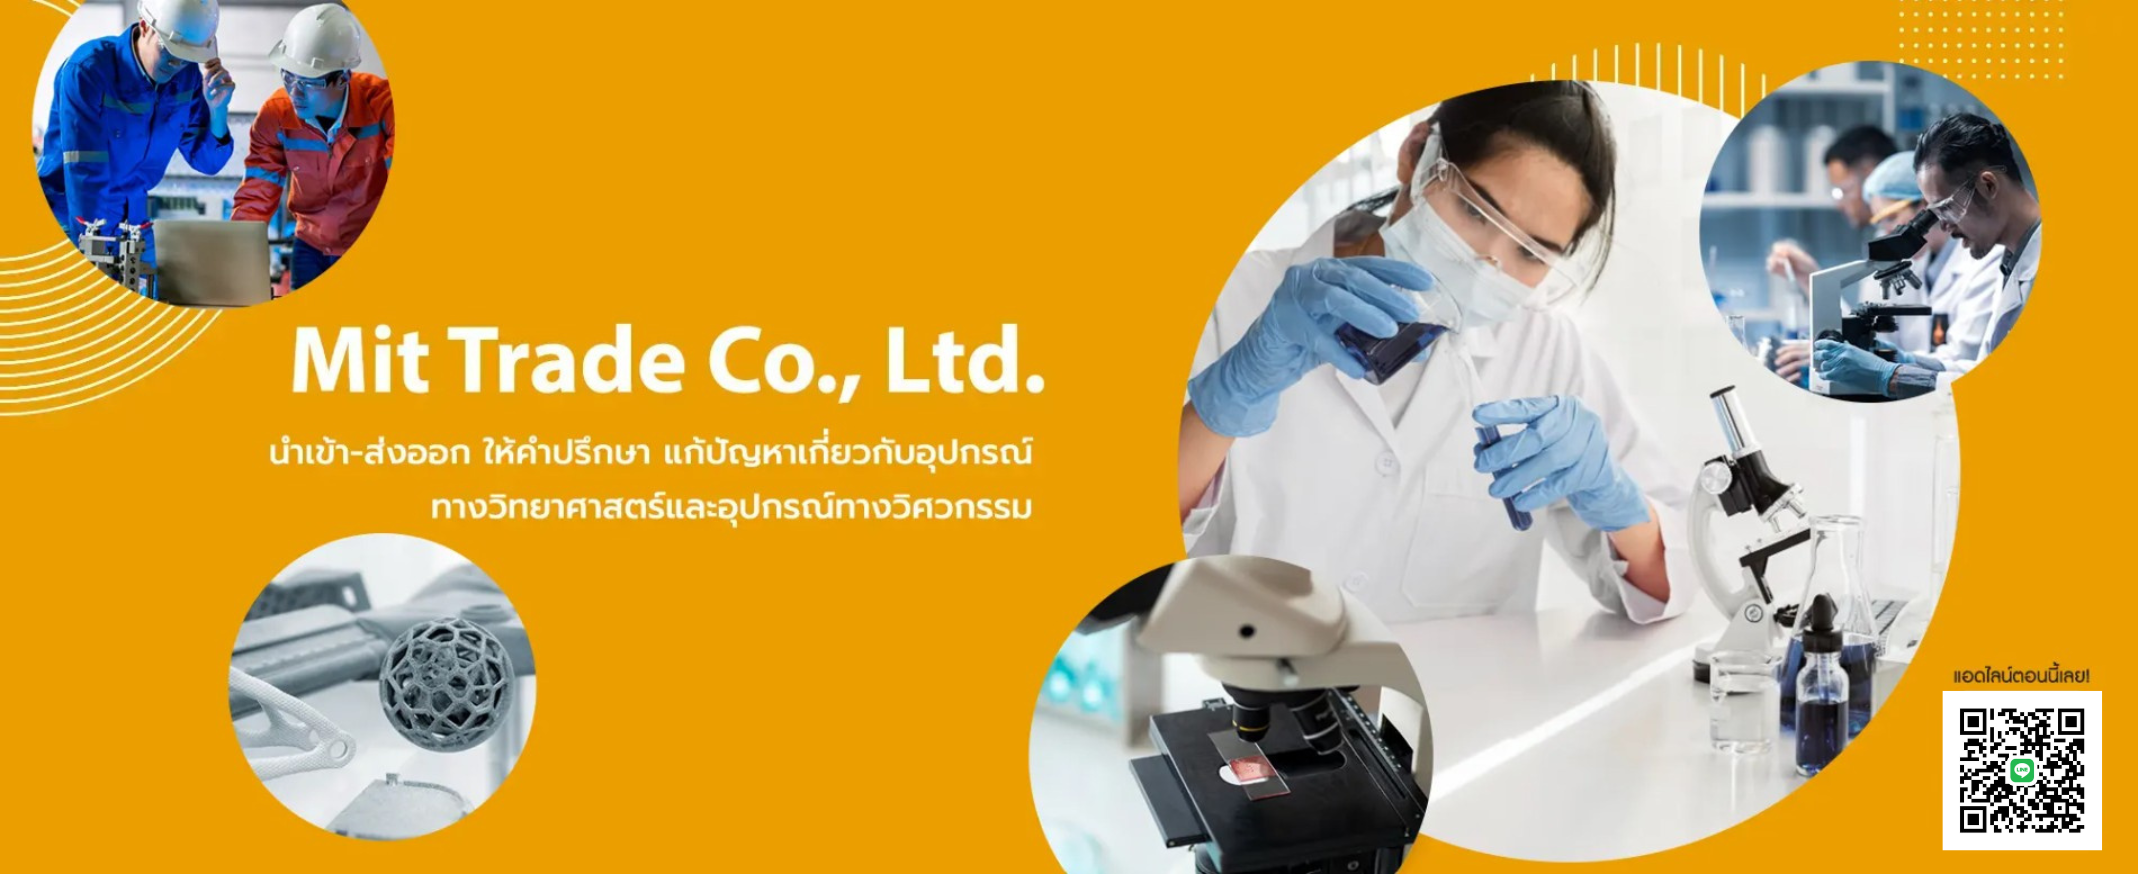
We provide consultation and sourcing of scientific and engineering equipment, as well as research instruments from around the world, ensuring accurate delivery that meets users' specific requirements and timelines.
Importer and exporter providing consultation and solutions for equipment-related issues by direct experts.
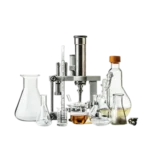
Comprehensive science products we highly recommend.
Comprehensive distributor of scientific instruments and chemicals, offering quality products for both retail and wholesale. Expert consultation is provided to ensure the success of every research project.
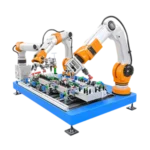
You can schedule a visit to view product samples at the prototype factory, with experts available to provide consultation.
We have a network of leading manufacturers worldwide.
By land, sea, and air transportation.
Our team is ready to provide guidance to ensure you receive products that meet your specifications and usage requirements.
We have a team that provides guidance and prepares all the necessary and accurate documentation.
Working in a scientific laboratory—whether for teaching, research, or quality control in industrial factories—requires appropriate tools and equipment to ensure experiments run smoothly, accurately, and safely. For those who are setting up a new lab or students just stepping into the world of experimentation, it can be confusing to know where to start.
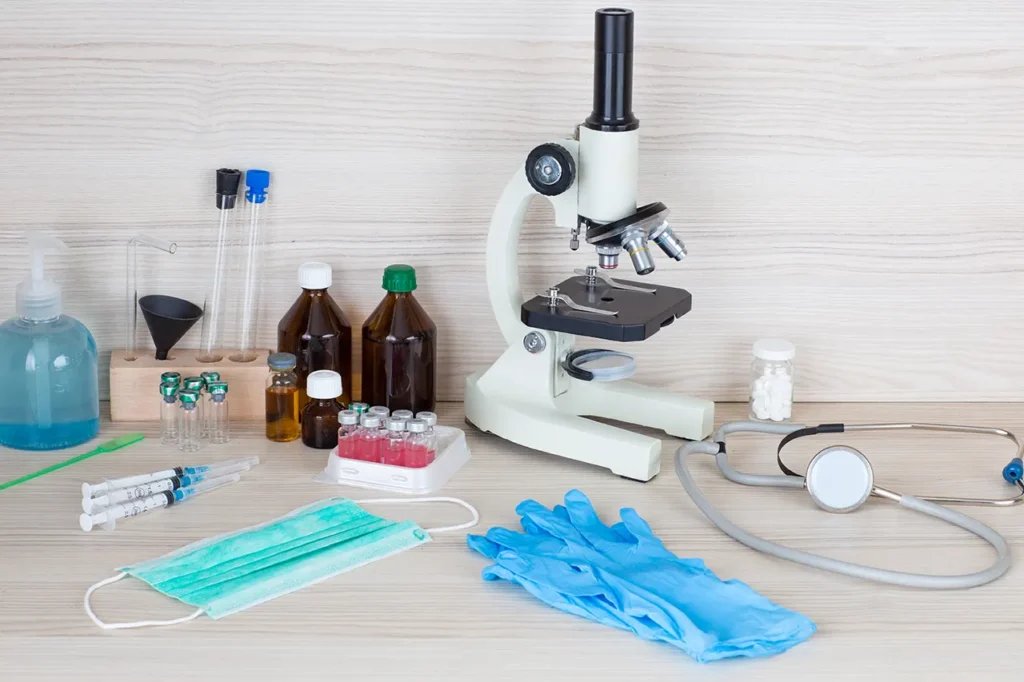
Today, we've compiled a list of 10 "basic science equipment" that are truly the heart and soul of almost every laboratory. Let's take a look at what they are and the crucial functions each piece performs.
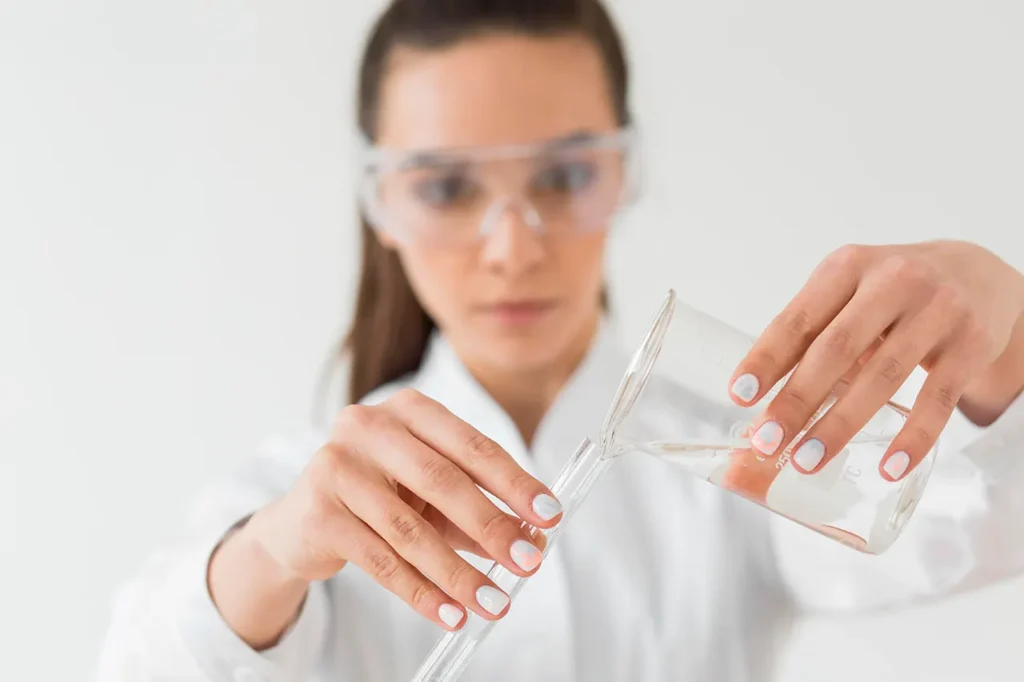
1. Beaker A beaker is a cylindrical glass container with a wide mouth, approximate volume markings, and a spout for easy pouring. It is one of the most versatile pieces of equipment, used for holding chemicals, mixing solutions, heating substances, and even temporarily collecting waste liquids.
2. Graduated Cylinder When you need to measure liquid volume more accurately than with a beaker, the graduated cylinder is the answer. Its tall cylindrical shape and precise volume markings allow for accurate reading of liquid levels. It is an essential tool for preparing solutions with exact concentrations.
3. Volumetric Flask For tasks requiring the highest accuracy in preparing standard solutions, the volumetric flask is indispensable. It is a long-necked glass bottle with a single precise volume mark on the neck, designed to hold an exact volume of liquid at a specified temperature.
4. Pipette A **pipette** is a device used for precisely measuring and transferring small, accurate volumes of liquids. They come in various forms, including **glass pipettes** (like volumetric and measuring pipettes) and **adjustable volume pipettes** (like micropipettes). Pipettes are essential for tasks requiring the handling of small sample quantities.
5. Stirring Rod A stirring rod is a simple yet frequently used piece of equipment, typically made from chemical-resistant glass. It's used for mixing solutions to ensure even distribution, speeding up the dissolution of solids, or guiding liquids when pouring from one container to another to prevent spills or splashing.
6. Digital Balance For most chemical experiments, measuring the mass of substances is crucial, making the **digital balance** an absolutely essential scientific instrument. It can weigh substances quickly and accurately, and is available in various levels of precision, ranging from two decimal places up to four or five decimal places for analytical work requiring high accuracy.
7. Microscope In biology or medical laboratories, the **microscope** is a window into the world invisible to the naked eye. It is used to view and study microorganisms such as cells, bacteria, or various tissue structures. It is a fundamental tool that vastly expands the horizons of learning.
8. Stand and Clamp These pieces of equipment act as a "third hand" in the lab. They're used for holding glassware or other apparatus firmly in the desired position, such as setting up distillation apparatus or securing a burette during titration. This makes experiments more convenient and safer.
9. Alcohol Burner It's a basic, safe, and easily controllable heat source. It's used for heating solutions that don't require very high temperatures for boiling, or for sterilizing certain equipment, such as inoculation loops.
10. Personal Protective Equipment (PPE) Safety always comes first. The basic PPE that every lab must have includes **safety goggles** to protect eyes from chemical splashes, a **lab coat** to protect skin and clothing, and **rubber gloves** to prevent direct contact with chemicals.
Got it! I'm ready to start writing the article for Topic 1 with the SEO information you need. Please provide the details for Topic 1 and the SEO requirements.
basic-scientific-equipment
**Introduction** Equipping a functional laboratory begins with the right and complete set of basic science equipment. This article will introduce you to 10 indispensable items.
Working in a scientific laboratory—whether for teaching, research, or quality control in industrial factories—requires appropriate tools and equipment to ensure experiments run smoothly, accurately, and safely. For those who are setting up a new lab or students just stepping into the world of experimentation, it can be confusing to know where to start.
Today, we've compiled a list of 10 "basic science equipment" that are truly the heart and soul of almost every laboratory. Let's take a look at what they are and the crucial functions each piece performs.
1. Beaker A beaker is a cylindrical glass container with a wide mouth, approximate volume markings, and a spout for easy pouring. It is one of the most versatile pieces of equipment, used for holding chemicals, mixing solutions, heating substances, and even temporarily collecting waste liquids.
2. Graduated Cylinder When you need to measure liquid volume more accurately than with a beaker, the graduated cylinder is the answer. Its tall cylindrical shape and precise volume markings allow for accurate reading of liquid levels. It is an essential tool for preparing solutions with exact concentrations.
3. Volumetric Flask For tasks requiring the highest accuracy in preparing standard solutions, the volumetric flask is indispensable. It is a long-necked glass bottle with a single precise volume mark on the neck, designed to hold an exact volume of liquid at a specified temperature.
4. Pipette A **pipette** is a device used for precisely measuring and transferring small, accurate volumes of liquids. They come in various forms, including **glass pipettes** (like volumetric and measuring pipettes) and **adjustable volume pipettes** (like micropipettes). Pipettes are essential for tasks requiring the handling of small sample quantities.
5. Stirring Rod A stirring rod is a simple yet frequently used piece of equipment, typically made from chemical-resistant glass. It's used for mixing solutions to ensure even distribution, speeding up the dissolution of solids, or guiding liquids when pouring from one container to another to prevent spills or splashing.
6. Digital Balance For most chemical experiments, measuring the mass of substances is crucial, making the **digital balance** an absolutely essential scientific instrument. It can weigh substances quickly and accurately, and is available in various levels of precision, ranging from two decimal places up to four or five decimal places for analytical work requiring high accuracy.
7. Microscope In biology or medical laboratories, the **microscope** is a window into the world invisible to the naked eye. It is used to view and study microorganisms such as cells, bacteria, or various tissue structures. It is a fundamental tool that vastly expands the horizons of learning.
8. Stand and Clamp These pieces of equipment act as a "third hand" in the lab. They're used for holding glassware or other apparatus firmly in the desired position, such as setting up distillation apparatus or securing a burette during titration. This makes experiments more convenient and safer.
9. Alcohol Burner It's a basic, safe, and easily controllable heat source. It's used for heating solutions that don't require very high temperatures for boiling, or for sterilizing certain equipment, such as inoculation loops.
10. Personal Protective Equipment (PPE) Safety always comes first. The basic PPE that every lab must have includes **safety goggles** to protect eyes from chemical splashes, a **lab coat** to protect skin and clothing, and **rubber gloves** to prevent direct contact with chemicals.
Summary
This is just a part of the essential basic science equipment. Having these tools complete and in good condition will help your laboratory work proceed efficiently and safely. If you are looking for high-quality equipment for your lab, at
MIT Trade We provide sales and import services for all types of scientific equipment, instruments, and chemicals. We are ready to provide expert consultation to meet all your needs. Contact us today!
In a scientific laboratory, accuracy is the key to reliable results. However, many may overlook one of the most fundamental factors directly affecting that accuracy: the cleanliness of glassware. Even small residues of dirt or chemicals can cause unwanted reactions, alter pH values, or inhibit microbial growth, which may lead to misinterpretation of experimental results and wasted time.
Cleaning glassware is therefore not just about making it "look clean," but a scientific process that requires attention to every step. This article is a complete guide that will introduce techniques and procedures for cleaning glassware to be crystal clear and free from contamination, so you can be confident in every experiment.
Imagine you're preparing a buffer solution, but there are still small residues of acid or base in the beaker. The result is that the pH of your prepared buffer will deviate from what it should be. Or, in cell biology, residual dish soap might be toxic to the cells you are culturing. Therefore, investing time in correctly cleaning glassware is an investment in the accuracy of your data and your research results.
For the best results, you should strictly follow these steps:
1. Preliminary Rinse As soon as you're done using the glassware, immediately empty the solution and rinse it with tap water to remove most of the residue before it dries and hardens on the container. If there are solid residues, gently scrub them off with an appropriate glassware brush. Doing this step will significantly simplify the subsequent cleaning process.
2. Washing with Detergent You should choose a laboratory-grade detergent specifically made for glassware, as general dish soap often contains fragrances and other ingredients that can leave a film on the glass surface. Use a brush to thoroughly scrub every nook and cranny of the glassware, both inside and out.
3. Rinsing with Tap Water After scrubbing with detergent, rinse thoroughly with running tap water to remove all suds and cleaning solution. Rinse repeatedly (at least 3-5 times) until you're certain no slippery residue from the detergent remains on the glass surface.
4. Final Rinse with Distilled/DI Water This is the most crucial "secret" step to prevent water spots after drying. Tap water contains dissolved minerals and various ions, which, upon evaporation, will leave white stains on the glass surface. Rinsing 2-3 final times with distilled water or deionized water (DI water) will wash away these minerals, leaving your glassware crystal clear and free of any stains.
5. Drying The best method is to invert the glassware on a drying rack specifically designed for glassware and allow it to air dry in a dust-free area. If urgent use is necessary, it can be placed in an oven at a moderate temperature. A caution is Do not never use cloth or paper to wipe the inside of glassware, as they can leave tiny fibers that will become contaminants in your next experiment.
Summary
Properly cleaning glassware is always an investment in the accuracy of your experiments, an investment you'll always get back. Paying attention to these small details can make a huge difference in scientific results. And the best start is choosing high-quality glassware that's durable and easy to clean. At MIT Trade we offer a wide variety of glassware and plasticware for laboratories, along with expert consultation to help you select the right equipment for your specific needs.
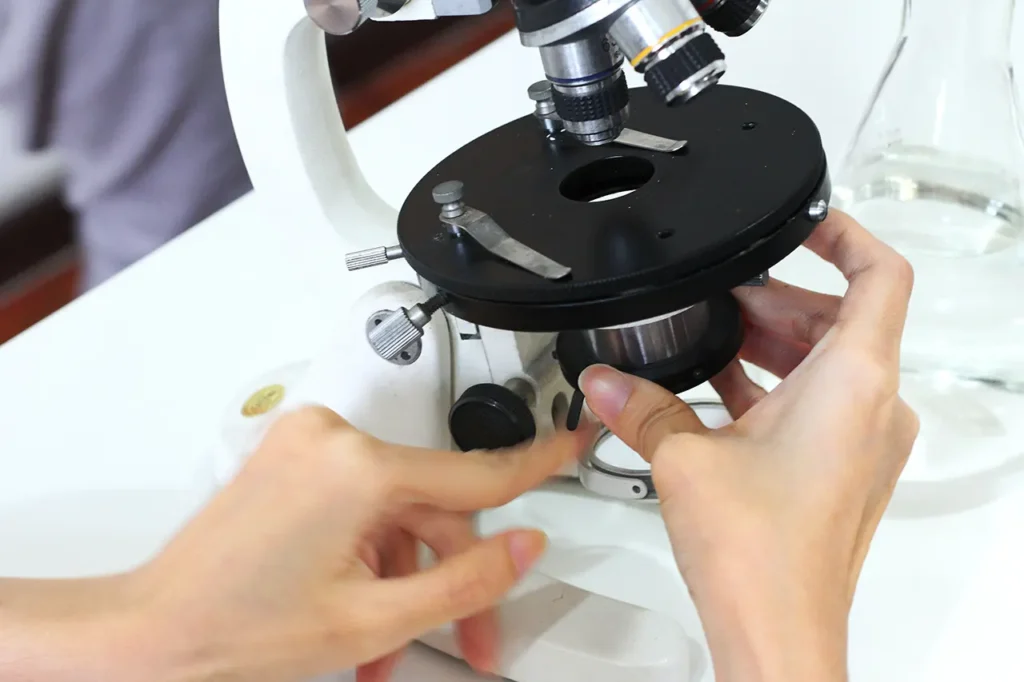
A microscope is the gateway to the tiny world invisible to the naked eye. It is an essential scientific instrument in biology laboratories, medical fields, and materials science, allowing us to magnify small objects for detailed study. However, microscopes are delicate devices that require special care and attention. Improper use or storage can cause scratches on critical components like lenses, promote fungal growth, or damage focusing mechanisms. This not only reduces image quality but also unfortunately shortens the lifespan of the instrument.
This article is a complete guide that will help you use and maintain your microscope correctly, ensuring this vital instrument remains a long-standing companion in your lab.
Before delving into maintenance, proper usage is the first line of defense against damage.
1. Cleaning the Lenses (Most Important!) Dust, fingerprints, and oil stains are the arch-enemies of clarity.
2. Cleaning the Microscope Body Use a clean, soft cloth or microfiber cloth dampened with a small amount of water to wipe away dust and dirt from various parts like the base, arm, and stage. Be careful not to let water get into the electronic system or internal mechanisms.
3. Protecting Against Dust and Moisture
Summary
Consistent maintenance of your microscope, following the guidelines above, is like an investment that guarantees you'll always have a sharp and reliable analytical tool. Paying attention to these small details today will extend the lifespan of this valuable equipment for many years to come.
If you're looking for high-quality scientific instruments, including microscopes for your laboratory, we can help. MIT Trade We're happy to provide consultation and help you source the right equipment to meet your needs

When it comes to laboratory equipment, “glassware” is often one of the first things people think of—from beakers and Florence flasks to test tubes. But have you ever wondered why some glassware can be placed directly over a flame, while others may crack easily when exposed to rapid temperature changes? The answer lies in the “type of glass” used in their manufacture.
Choosing the right type of glass for your application isn't just about extending equipment lifespan and saving money; it's also a crucial factor for experimental safety. Today, we're going to delve into the differences between the two most commonly used types of glass in the lab: Borosilicate And Soda-lime
Borosilicate glass is a special type of glass containing boron trioxide, which gives it unique properties that ordinary glass lacks. Well-known brands like Pyrex® and DURAN® are examples of products made from this type of glass.
Key Properties:
Appropriate Uses: These include equipment that needs to withstand direct heat, such as beakers, round-bottom flasks, Erlenmeyer flasks, test tubes, and equipment requiring high chemical resistance.
Soda-lime glass is the most common type of glass found in daily life, from beverage bottles to window panes. It's also used in laboratories, but its use is restricted to applications that don't involve harsh conditions.
Key Properties:
Appropriate Uses: Equipment that doesn't require heat, such as reagent bottles, Petri dishes, microscope slides, stirring rods, and some types of pipettes.
| Properties | Borosilicate Glass | Soda-lime Glass |
| Thermal Shock Resistance | Very High | Low |
| Chemical Resistance | Very High | Moderate |
| Melting Point | High (approximately 820 °C) | Lower (approximately 700 °C) |
| Price | Higher | Economical |
| Main Uses | Heating, Chemical Reactions, High-Precision Analysis | Storing Substances, General Room Temperature Work, Disposable Equipment |
The decision on which type of glass to choose isn't about which one is "better," but rather "what will it be used for?"
Choosing the correct type of glassware isn't just about lab safety; it also helps save money in the long run. MIT Trade We offer laboratory glassware and plasticware in both Borosilicate and Soda-lime types to meet all your application needs. Our experts are ready to provide consultation, ensuring you get the most suitable equipment.
เว็บไซต์ mit-trade.com มีการใช้งานเทคโนโลยีคุกกี้ หรือ เทคโนโลยีอื่นที่มีลักษณะใกล้เคียงกันกับคุกกี้ บนเว็บไซต์ของเรา โปรดศึกษา นโยบายการใช้คุกกี้ และ นโยบายความเป็นส่วนตัวของข้อมูล ก่อนใช้บริการเว็บไซต์ ได้ที่ลิงค์ด้านล่าง